How to Clean Oil Filter in 7 Easy Steps
Many car owners find cleaning their oil filter to be a daunting and messy task. If you’re feeling overwhelmed or unsure where to start, you’re not alone—this is a common challenge.
Luckily, with a little guidance, you can tackle it confidently and keep your vehicle running smoothly.
To clean your oil filter in 7 easy steps, start by gathering tools like screwdrivers, cleaning agents, and safety gear. Carefully remove and disassemble the filter, inspecting for debris or damage.
Use appropriate cleaners like brake or carburetor cleaner to thoroughly clean and rinse the filter, then dry it completely using air, oven, or compressed air.
Reassemble, making sure the gasket is properly positioned, and reinstall your filter. Check for leaks once it’s back in place.
Keep following tips to maintain your filter’s long-term performance.
Key Takeaways
- Disassemble the oil filter carefully, keeping track of the order of parts so you can put everything back together properly.
- Use the right cleaning agents like brake or carburetor cleaner to get rid of all the dirt and grime.
- Rinse everything thoroughly with a solvent and dry it completely. You can use oven drying or compressed air to speed up the process.
- Before reassembling, lubricate the gasket with some fresh engine oil. Make sure it fits correctly to prevent leaks.
- Finally, reinstall the filter securely. After starting the engine, check for leaks and ensure everything is sealed properly.
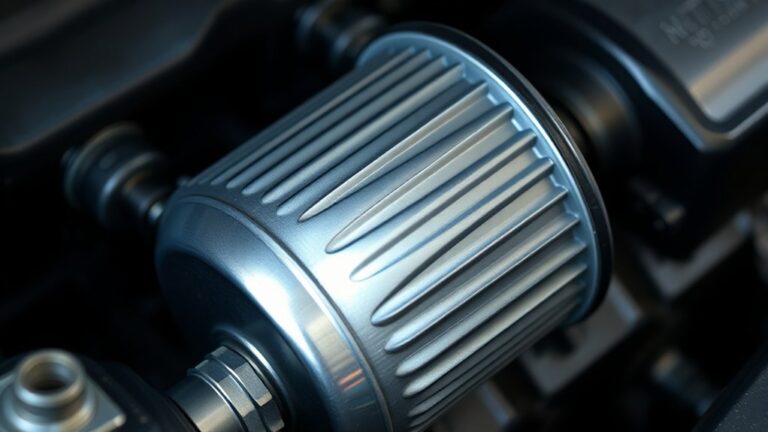
Why Cleaning Your Reusable Oil Filter Matters
Cleaning your reusable oil filter is essential because it directly impacts its ability to do its job. When you regularly clean your filter, you remove accumulated debris that can clog it, ensuring ideal filtration performance.
A clean filter prevents reduced oil flow, which could lead to engine damage over time. Proper cleaning also helps maintain the filter’s efficiency, extending its lifespan and reducing how often you need to replace it.
By removing contaminants like dirt and metal particles, you prevent them from circulating through your engine. This helps avoid unnecessary wear and tear.
Ultimately, maintaining a clean reusable oil filter supports your engine’s health and keeps your vehicle running smoothly. Consistent cleaning is a simple yet crucial step to protect your engine and maintain performance.
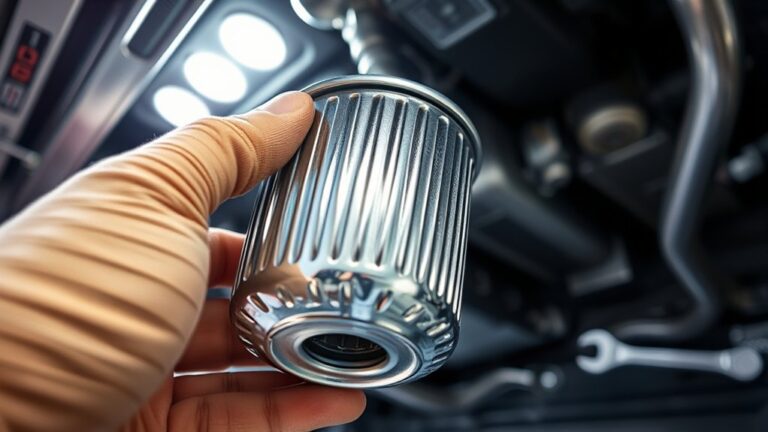
Gather Your Tools and Supplies for Cleaning
Before you start cleaning your reusable oil filter, gather the necessary tools and supplies to make the process smooth and safe. You’ll need essential tools like a screwdriver, pliers, and a wrench to handle disassembly safely.
Gather your tools and supplies for a safe, efficient oil filter cleaning session.
Prepare cleaning supplies such as brake cleaner, aerosol carburetor cleaner, or a parts washer for effective debris removal. Keep a clean rag or towel nearby to wipe down the filter and surrounding components during cleaning.
Use a container or drain pan to catch residual oil and prevent environmental contamination during disassembly. Don’t forget to wear protective gloves and safety glasses to guard against oil splashes and chemical exposure.
Having everything ready beforehand guarantees a quick, safe, and efficient cleaning process.
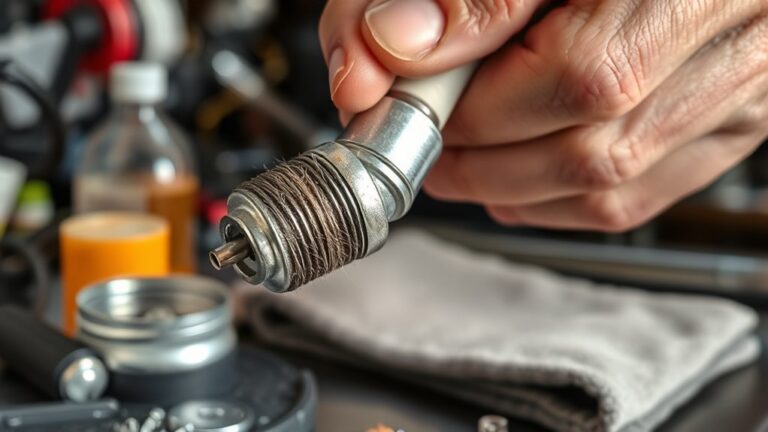
Carefully Remove and Disassemble the Oil Filter
To carefully remove and disassemble your oil filter, start by identifying whether you have a canister or cartridge type, as each needs different tools and techniques. Once you know, gather the right tools, like screwdrivers or pliers.
Gently unscrew the filter housing or canister, being careful not to damage the threads or gasket. After removing the filter, disassemble the internal parts, including the filter element and any other components.
Make sure to note the order of the parts so you can reassemble everything correctly later. Inspect the canister or housing for sludge, debris, or corrosion, and check if there’s any damage.
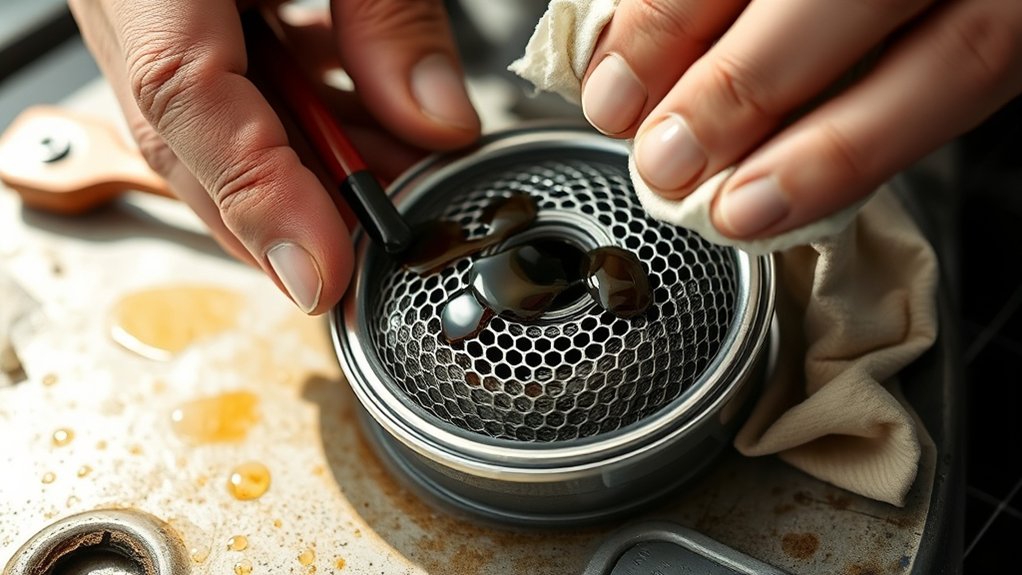
Handle all parts, like the wire mesh filter, delicately to prevent any damage. Carefully removing and disassembling these parts helps ensure a thorough cleaning and prepares your filter for reassembly.
Use the Right Methods to Clean Your Oil Filter
To clean your oil filter effectively, you need to use the right cleaning methods. Choose solvent-based cleaners like brake or carburetor cleaner for tough dirt.
Consider ultrasonic cleaners for mesh filters. Make sure to dry the filter completely with proper techniques before reinstalling to keep your engine running smoothly.
Appropriate Cleaning Solvents
Choosing the right cleaning solvent is essential for effectively removing oil and debris from your filter without causing damage. Use suitable cleaning solvents like brake cleaner, carburetor cleaner, or aerosol cleaner to loosen grime.
These options are effective at dissolving oil buildup and debris without harming the filter material. Avoid harsh chemicals such as bleach or ammonia, which can deteriorate the filter.
Always verify that the solvent is compatible with your oil filter to prevent damage. When cleaning, thoroughly rinse the filter with the solvent to ensure all grime and sludge are dissolved.
Remember to dry the filter completely afterward before reinstalling to prevent contamination or water entering the engine. Proper solvent choice guarantees a clean, functional oil filter.
Proper Drying Techniques
After thoroughly cleaning your oil filter with an appropriate solvent, focusing on proper drying methods ensures it stays in good working condition. Oven drying at 180°F for 10-15 minutes effectively removes residual moisture and prevents water from causing milky oil or engine damage.
Alternatively, you can air dry the filter in a clean, dust-free environment, allowing complete evaporation of moisture. Blowing compressed air from inside out helps eliminate tiny water particles and cleaning residues that might hide in mesh filters.
For maximum moisture removal, ultrasonic cleaning combined with proper drying techniques is very effective. Using these methods ensures your filter is fully dry and ready for reuse, reducing the risk of long-term damage from trapped water and maintaining engine performance.
Effective Cleaning Tools
Using the right cleaning tools is essential to restore your oil filter’s performance effectively. Start with solvent-based cleaners like brake cleaner or aerosol carburetor cleaner to cut through oil and debris.
For a thorough clean, ultrasonic cleaning machines use high-frequency vibrations to dislodge stubborn dirt from mesh filters without damaging them. After cleaning, blow compressed air through the filter from inside out to remove residual particles and cleaning agents, ensuring proper airflow.
Avoid harsh chemicals or abrasive scrubbing, which can harm the filter material. Proper drying is crucial—air dry or oven dry at 180°F for 10-15 minutes—to prevent moisture-related issues.
Using these effective cleaning tools guarantees your filter stays in top shape and functions at its best.
Dry the Filter Completely to Prevent Damage
Make sure the oil filter is completely dry before reinstalling to avoid moisture-related problems.
You can use compressed air or gently heat it in an oven set to 180°F for 10-15 minutes to remove all water.
Rushing this step can cause engine damage or filter failure, so take your time to confirm it’s thoroughly dry.
Proper Drying Techniques
To prevent damage and guarantee peak performance, it’s essential to dry the oil filter thoroughly before reinstalling it. Proper drying gets rid of moisture that could contaminate the engine oil or cause long-term damage.
You can use oven drying at 180°F for 10-15 minutes to effectively evaporate water from mesh filters, making sure they are completely dry. Alternatively, after blowing out the filter with compressed air, let it air dry naturally so residual water can evaporate.
Always double-check that the filter is entirely dry and free of water before reinstalling. To optimize drying, consider using an oven at 180°F, blowing out moisture with compressed air, or letting it air dry in a well-ventilated area.
Before putting the filter back in, make sure there’s no remaining dampness. This helps ensure your engine runs smoothly and stays protected from potential damage.
Avoid Residual Moisture
After drying the filter with compressed air or oven heat, it’s important to confirm that no moisture remains inside. Residual water can cause milky oil or corrosion, leading to engine issues over time.
To guarantee thorough drying, blow out water from inside the filter using compressed air, directing airflow from the inside out. For mesh filters, oven drying at 180°F for 10-15 minutes effectively removes remaining moisture.
Furthermore, let the filter air dry in a clean, warm environment until completely dry. Avoid rushing this step, as leftover moisture can compromise the filter’s integrity and cause long-term damage.
Properly drying the filter and removing residual water is essential for maintaining peak engine performance and preventing future problems.
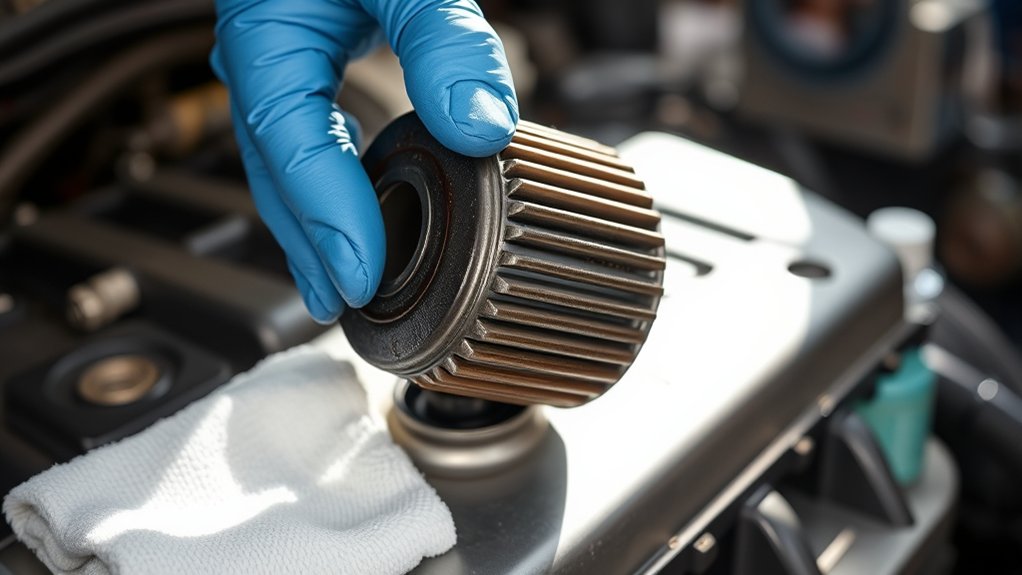
Reassemble and Reinstall the Cleaned Oil Filter
Before reinstalling the cleaned oil filter, make sure the gasket is properly lubricated with fresh engine oil to create a secure seal. This helps prevent leaks and ensures a tight fit.
Carefully reassemble the filter by threading it onto the housing by hand. Make sure it’s snug but not over-tightened. Use a wrench for an additional quarter to half turn, but avoid over-tightening to prevent damage.
Double-check that the filter is firmly seated and that the gasket isn’t pinched or misaligned. To confirm proper installation, verify the gasket’s position before tightening.
Tighten the filter by hand first, then gently with a wrench. Avoid over-tightening, which can cause damage. After starting the engine, inspect for leaks to ensure everything is sealed properly.
Following these steps guarantees a proper seal and smooth operation of your oil filter.
Tips for Long-Term Maintenance of Your Oil Filter
Maintaining your oil filter over the long term means regularly inspecting it and following proper cleaning practices. If you have a reusable oil filter, check it often to make sure it’s free of debris and working well.
Follow the cleaning schedule recommended for your vehicle’s usage, and make sure to clean the filter thoroughly each time. After cleaning, dry the filter completely—placing it in an oven at 180°F for 10-15 minutes works well—to avoid moisture issues.
Store the cleaned filter in a dry, dust-free place until you’re ready to reinstall it. Don’t forget to dispose of used oil and cleaning residues properly—take them to designated recycling facilities. This helps protect the environment and keeps your filter in good shape.
Frequently Asked Questions
What Is the Best Way to Clean an Oil Filter?
The best way to clean an oil filter is to use ultrasonic cleaning, which removes debris thoroughly without damaging the filter. First, soak it in a suitable solvent or cleaner to dissolve grease.
Next, blow compressed air from inside out to remove residual particles. Finally, oven dry at 180°F for 10-15 minutes.
This method guarantees a clean, well-maintained filter that performs at its best and lasts longer.
What Percentage of Car Owners Change Their Own Oil?
About 15-20% of car owners change their own oil regularly. If you’re into DIY car maintenance, you might be among the enthusiasts and mechanically inclined who prefer doing it yourself.
Many vehicle owners find professional services more convenient because they perceive it as less complicated. However, roughly one-third of car owners have tried changing their oil at least once.
Your decision to DIY depends on your skills, confidence, and interest in vehicle maintenance.
Can WD-40 Clean Oil From an Engine?
A stitch in time saves nine, so don’t delay. You shouldn’t use WD-40 to clean oil from your engine. While it might loosen grime temporarily, it’s not designed for engine cleaning and can leave residue.
This residue could potentially harm engine performance over time. Instead, use automotive degreasers specifically made for engines.
This approach guarantees a thorough clean without risking buildup or damage. It helps keep your engine running smoothly and reliably.
Can I Put Vinegar in My Filter to Clean It?
You can put vinegar in your filter to clean it, but be cautious. Vinegar’s mild acid can dissolve mineral deposits and light grime, but it might damage the filter material or seals if used excessively or left too long.
After soaking, rinse thoroughly with water and dry completely before reusing. For better results, consider combining vinegar with soap or degreasers, and check your manufacturer’s recommendations to avoid damage.
Conclusion
Keeping your oil filter clean is crucial for peak engine performance and longevity. By following these seven simple steps, you can ensure your vehicle runs smoothly, like a well-tuned orchestra.
Regular maintenance prevents costly repairs down the road and helps you avoid the pitfalls of neglect. Think of this routine as your modern equivalent of a Victorian gentleman’s meticulous grooming.
This way, your ride stays pristine and reliable for years to come. Remember, a clean oil filter is key to keeping your engine healthy and running at its best.