How Do You Test a Fuel Pressure Regulator in 10 Easy Steps?
If you’ve ever faced rough engine performance or difficulty starting your car, you’re not alone. Many drivers struggle with diagnosing fuel system issues, especially when it comes to the fuel pressure regulator.
Luckily, testing this component doesn’t have to be complicated.
To test your fuel pressure regulator, start by safely connecting a fuel pressure gauge to the test port on the fuel rail and check the static pressure with the engine off.
Then, turn on the ignition and observe the pressure, noting any fluctuations.
With the engine running, remove the vacuum hose to see if pressure increases properly, and reconnect it to confirm response.
For detailed steps on diagnosing issues and replacing the regulator, keep exploring further.
Key Takeaways
- Locate the fuel pressure regulator on the fuel rail and connect a fuel pressure gauge securely to the test port.
- Turn the ignition on without starting the engine. Then, compare the static pressure reading to the manufacturer’s specifications.
- Start the engine and disconnect the vacuum hose to see how the pressure changes. Reconnect the hose and check that the pressure responds properly.
- Keep an eye on the fuel pressure during idle, acceleration, and deceleration. Make sure it stays within the acceptable range.
- Look at the test results carefully. If there are leaks, faulty diaphragms, or inconsistent pressure, these could be signs of a bad regulator.
What Is a Fuel Pressure Regulator and How Does It Work?
A fuel pressure regulator is a device that keeps the fuel pressure in your engine’s fuel rail steady, making sure your engine runs smoothly and efficiently.
It works by adjusting fuel pressure based on the manifold vacuum, increasing pressure at idle and decreasing it during acceleration.
The regulator supports both stock and high-performance fuel systems, providing a steady pressure of around 58 PSI.
It has an internal diaphragm that responds to vacuum changes, controlling fuel flow accordingly.
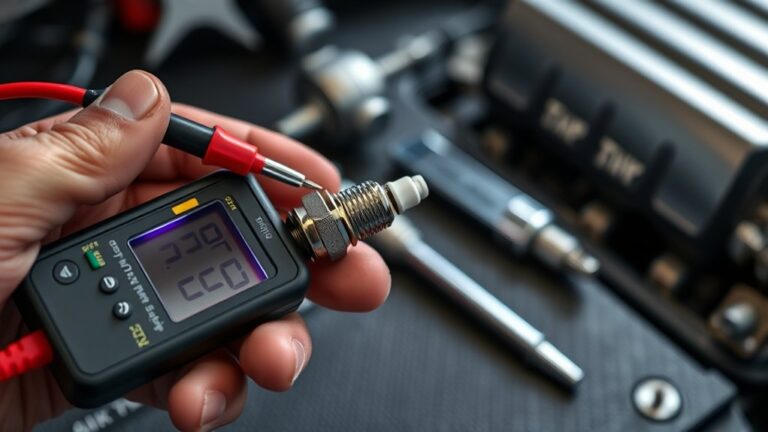
When testing your fuel system, you’ll use a fuel pressure gauge connected to the regulator to monitor pressure levels.
Some regulators have a vacuum hose attached to help regulate pressure, while others block excess fuel flow back to the tank.
Proper regulation prevents engine hesitation, black smoke, and damage.
Tools and Safety Tips Before You Start Testing
Before starting, make sure you’re wearing safety glasses and fuel-resistant gloves to protect against spills and vapors. Work in a well-ventilated area away from flames.
Relieve the fuel system pressure to prevent spray accidents. Use a high-quality, compatible fuel pressure gauge and ensure the engine is cool for safe, accurate testing.
Essential Safety Gear
Are you ready to test your fuel pressure regulator safely? First, always wear safety glasses and gloves to protect your eyes and skin from potential fuel exposure.
Before disconnecting any lines, make sure to relieve the fuel pressure to prevent fuel spray and injury. Work in a well-ventilated area free of open flames, sparks, or smoking materials to avoid fire hazards.
Use a high-quality, liquid-filled fuel pressure gauge for accurate readings and to prevent false diagnoses. Keep a Class B fire extinguisher nearby just in case of accidental fuel leaks or sparks during testing.
Following these safety steps helps minimize risks and keeps you safe throughout the process. Proper safety gear and precautions are essential for a safe and effective fuel system test.
Necessary Testing Tools
To guarantee accurate testing and maintain safety, gather the essential tools before you begin. You’ll need a high-quality, liquid-filled fuel pressure gauge compatible with your vehicle’s system to get precise pressure readings.
Find the test port on the fuel line to connect your gauge securely, ensuring a proper seal. Moreover, have safety glasses and fuel-resistant gloves ready to protect yourself from fuel splashes and vapors.
Use wrenches or pliers to connect fittings or remove caps from the fuel regulator or test port. Working in a well-ventilated area free of open flames or sparks is vital.
Proper tools and safety gear help ensure a smooth, safe process when diagnosing fuel pressure issues.
Precautions and Environment
Make sure your workspace is safe and prepared before testing the fuel pressure regulator. Always wear safety goggles and fuel-resistant gloves to protect yourself from fuel spills and vapors. Conduct the test in a well-ventilated area, away from open flames, sparks, or static electricity sources.
Use a high-quality, liquid-filled fuel pressure gauge with proper fittings to ensure accurate readings. Before disconnecting any lines, relieve the fuel pressure to prevent sprays or leaks. Keep the engine cool and the workspace clutter-free to minimize hazards.
| Precaution | Why It Matters | Example |
|---|---|---|
| Safety goggles | Protect your eyes from fuel splashes | Wear goggles at all times |
| Fuel-resistant gloves | Shield your skin from harmful vapors | Use gloves during testing |
| Ventilation | Prevent buildup of dangerous fumes | Test outdoors or in a vented garage |
| Relieve fuel pressure | Avoid fuel spray when disconnecting lines | Always relieve pressure first |
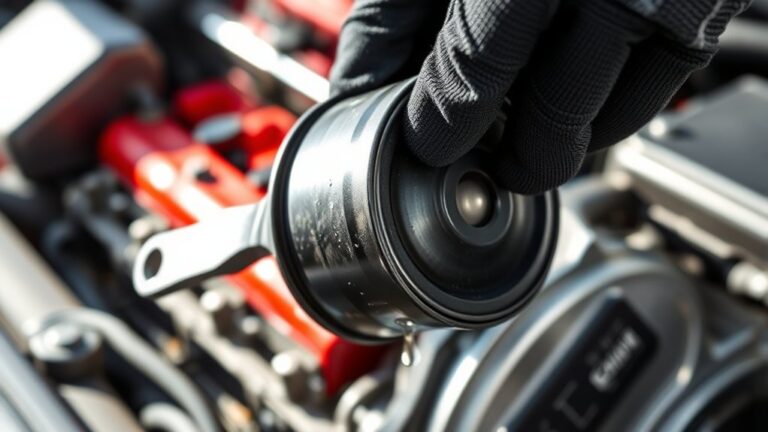
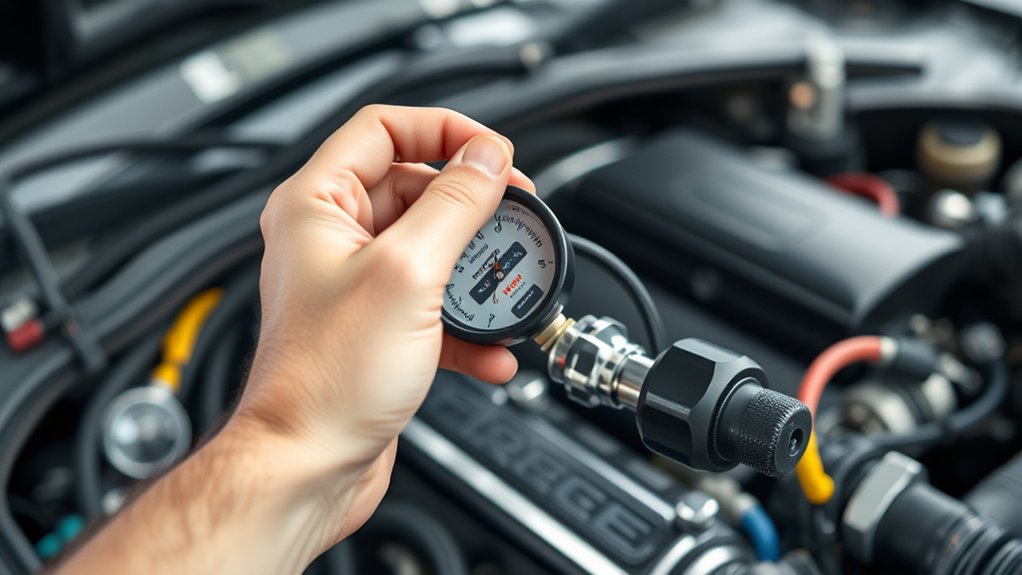
How to Locate Your Fuel Pressure Regulator and Connect the Gauge
Locating your fuel pressure regulator is an important first step before connecting a gauge. You’ll usually find it on the fuel rail, and it often looks like a small, round part with a vacuum hose attached.
Find the fuel pressure regulator on the fuel rail; it’s a small, round part with a vacuum hose attached.
Next, find the test port on the fuel rail. It looks like a Schrader valve or a tire valve stem and is typically covered with a protective cap. Make sure your fuel pressure gauge has fittings that match.
When connecting, press the gauge’s valve onto the test port fitting and lock it in place to prevent leaks. This setup lets you get an accurate reading of the fuel pressure, which helps you check the regulator’s performance.
Keep these key steps in mind:
- Locate the fuel pressure regulator on the fuel rail
- Find the test port, which resembles a Schrader valve
- Connect the fuel gauge securely to the test port
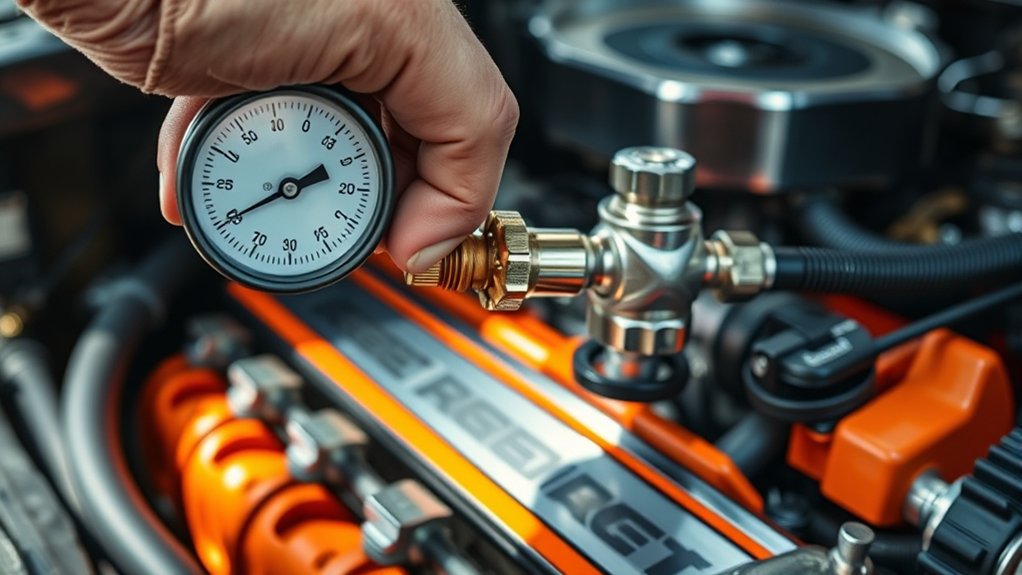
How to Check Static Fuel Pressure : What Your Readings Mean
Checking static fuel pressure involves turning off the engine and then turning on the ignition to power the fuel system without starting the engine. You attach a fuel pressure gauge to the test port or fuel rail.
Proper readings are essential; for example, an LS engine usually shows around 58 PSI, but this can vary depending on the vehicle. If your gauge shows significantly higher or lower pressure, it could mean a problem with the regulator or fuel pump.
A steady static pressure over several minutes indicates a healthy system, while a rapid drop suggests leaks or faulty components. Comparing readings before and after disconnecting the vacuum line can help determine if the regulator is working properly.
| Static Pressure | Normal Range | Issue Indication |
|---|---|---|
| Steady | Within specs | Good regulator and pump |
| Rapid Drop | Below specs | Internal leak or faulty part |
| High | Above specs | Regulator malfunction |
| Low | Below specs | Fuel pump or regulator issue |
How to Perform the Vacuum Test and Assess Regulator Response
To check if the fuel pressure regulator responds properly to vacuum changes, you’ll need to do a vacuum test. Attach a fuel pressure gauge to the regulator’s test port and start the engine to get the initial pressure reading.
With the engine idling, carefully remove the vacuum line from the regulator’s vacuum port. Watch the pressure gauge to see if the fuel pressure increases, which shows the regulator is working correctly.
Reconnect the vacuum line and check if the pressure returns to its original level. A good regulator will show a decrease in fuel pressure when vacuum is applied and an increase when vacuum is removed, indicating proper vacuum control.
Make sure you see a pressure change when you remove or reconnect the vacuum line. Also, ensure the vacuum line is sealed tightly to prevent leaks. Finally, check the diaphragm in the regulator; it should respond smoothly to vacuum changes.
Monitoring Fuel Pressure at Idle and Under Load
Monitoring fuel pressure at idle and under load is key to making sure your fuel pressure regulator is working properly. During a pressure test, measure fuel pressure with the vacuum line attached. Aim for a reading within your vehicle’s specified range, usually around 35-60 PSI.
Next, disconnect the vacuum line and watch for an increase of about 5-10 PSI. That increase shows the regulator is responding correctly. Reconnect the vacuum line and check that the pressure drops accordingly, indicating the regulator can adjust fuel delivery under load.
When testing under throttle or load conditions, rev the engine to simulate acceleration. Watch to see if the fuel pressure stays steady or adjusts within acceptable limits. Consistent pressure during these tests points to a healthy regulator, while fluctuations might mean there’s a fault that needs further diagnosis.
How to Interpret Fuel Pressure Test Results and Diagnose Faults
When reviewing your fuel pressure test results, check if the pressure readings are within the manufacturer’s specifications. If they’re outside the range, that’s a sign something might be wrong.
Fast pressure drops after shutting off the engine suggest there could be internal leaks. If the pressure stays the same even when you apply a vacuum, it points to a faulty diaphragm or valve.
Recognizing Pressure Anomalies
Have you ever wondered how to tell if your fuel pressure is within the proper range or if there’s a hidden problem? Recognizing pressure anomalies during pressure testing can help you spot regulator faults early.
When fuel pressure is too low, it might mean a stuck open fuel regulator or an internal leak, which can cause engine hesitation. On the other hand, excessively high or inconsistent fuel pressure suggests a regulator malfunction or a stuck closed valve, risking engine flooding.
Rapid pressure drops after shutdown usually point to internal leaks or a ruptured diaphragm. If you see fuel in the vacuum hose, that signals internal diaphragm failure and proper regulation is disrupted.
Keep an eye out for these signs during testing. Catching issues early can help you decide whether the regulator needs repair or replacement.
Diagnosing Internal Leaks
A sudden drop in fuel pressure after shutting off the engine often points to an internal leak or a stuck-open diaphragm in the regulator.
During a pressure test, if the fuel pressure quickly falls, it suggests internal leaks that are allowing fuel to escape. When you apply vacuum to the regulator, a healthy unit’s fuel pressure should increase.
If there’s no change, that indicates diaphragm failure or internal damage. Check the vacuum hose for fuel, which confirms a diaphragm rupture causing the leak.
Consistently high pressure readings despite adjustments usually mean a faulty internal valve or diaphragm. These internal leaks can cause engine hesitation, uneven fuel delivery, and black smoke from the exhaust.
To diagnose these issues, carefully observe the pressure test results and how the vacuum affects pressure. This helps identify internal leaks more accurately.
Confirming Regulator Failure
How can you tell if your fuel pressure regulator has failed just by looking at the test results? Abnormal pressure readings, like consistently high or low PSI outside the manufacturer’s specs, suggest a faulty regulator.
No change in pressure during a vacuum test indicates internal issues, such as a diaphragm rupture or stuck components. Fuel in the vacuum hose is a clear sign of diaphragm failure, which points to a regulator problem.
Rapid pressure drops after shutting off the engine also suggest internal leaks, confirming that the regulator isn’t maintaining proper fuel pressure. To diagnose a faulty regulator, look for pressure readings outside the specified ranges, no pressure change during vacuum tests, and fuel in vacuum hoses.
These signs help you interpret test results and identify regulator failure accurately.
Detecting Diaphragm Rupture and Fuel in the Vacuum Line
When suspecting a faulty fuel pressure regulator, a quick check is to look for fuel in the vacuum line. If you find fuel there, it’s a sign of a diaphragm rupture inside the regulator, which causes an internal failure.
To test this, disconnect the vacuum line and smell for gasoline. A fuel odor confirms there’s a leak. You can also visually inspect the regulator for fuel wetness or cracks on the body, both signs of diaphragm failure.
If applying vacuum during testing doesn’t change the fuel pressure, it suggests the diaphragm is broken or stuck open. Fuel in the vacuum line is a clear sign of a failed regulator with a ruptured internal diaphragm, indicating you should inspect or replace it.
Step-by-Step Guide to Replacing a Faulty Fuel Pressure Regulator
Before installing a new fuel pressure regulator, make sure the fuel system is depressurized to avoid spills or injury. Start by relieving the pressure, then disconnect the negative battery cable for safety.
Next, detach the vacuum line and fuel return line from the faulty regulator. Unbolt it and remove it from the vehicle. To make the replacement easier, lubricate the new O-rings with clean engine oil before installing the new unit securely.
Reconnect the vacuum and fuel lines, ensuring all fittings are leak-free. Repressurize the fuel system, start your engine, and perform a pressure test to check that the fuel pressure is correct.
Properly replacing the regulator helps improve engine performance and keeps the fuel system functioning smoothly. Always double-check all fittings and connections to prevent leaks and ensure safe operation.
Tips to Maintain Your Fuel Pressure Regulator and Ensure Longevity
Maintaining your fuel pressure regulator is essential for ensuring your engine runs smoothly and avoiding costly repairs. Regularly check the vacuum hose for cracks, leaks, or fuel contamination to prevent internal diaphragm failure.
Keeping the fuel system clean by replacing the fuel filter at the recommended intervals helps maintain consistent fuel pressure. Use high-quality, OEM-recommended fuel pressure regulators and replace them promptly if you notice signs of wear or malfunction.
Avoid exposing the regulator to extreme temperatures or unapproved fuel additives, as these can break down its components over time. Periodically check fuel pressure readings and vacuum response to catch early signs of fatigue or failure.
Proper maintenance of your regulator ensures reliable test results and a well-functioning fuel system, ultimately helping your engine last longer.
Frequently Asked Questions
How to Test if a Fuel Pressure Regulator Is Good?
To check if your fuel pressure regulator is good, start by connecting a fuel pressure gauge to the test port on the fuel rail.
Turn the key to the “on” position and watch the pressure; it should fall within the specified range for your vehicle.
Next, disconnect the vacuum hose from the regulator and see if the pressure increases. Then, reattach it to check if it responds properly.
Also, take a look at the vacuum hose for any signs of fuel or leaks, as these indicate a faulty regulator.
How Much Fuel Pressure Is Needed for TBI?
For a TBI system, you should aim for a fuel pressure between 9 and 13 PSI, with most operating around 12 PSI. You need the correct pressure to guarantee proper fuel atomization, combustion, and engine performance.
Too high or too low pressure can cause drivability issues like stalling or poor acceleration. Always check your vehicle’s service manual for the exact fuel pressure specifications to keep your engine running smoothly.
What Is the Fuel Pressure for KTM 1290?
The fuel pressure for your KTM 1290 should be around 58 PSI for optimal performance. To check this, connect a specialized pressure gauge to the fuel rail.
Make sure the pressure stays steady; fluctuations can lead to engine hesitation, misfires, or poor fuel economy. Regularly monitoring the pressure helps ensure your bike runs smoothly and efficiently.
Keeping an eye on fuel pressure also prevents potential engine issues caused by incorrect fuel delivery.
How Do I Know if My Fuel Pressure Regulator Is Stuck Open?
Think of your fuel pressure regulator as a gatekeeper controlling fuel flow. If it’s stuck open, fuel floods the system like an open dam, causing pressure to stay high.
You’ll notice this if pressure stays above normal even when you disconnect the vacuum line, or smell gasoline in the vacuum hose. Fuel in the line or a strong gasoline smell signals a ruptured diaphragm, confirming the regulator’s stuck open.
Conclusion
Testing your fuel pressure regulator might seem intimidating, but with these steps, you’re well on your way to keeping your engine purring smoothly. Think of it as tuning a delicate instrument—you want every note to hit perfect.
Regular checks can prevent costly repairs and help your vehicle run like a well-oiled machine. So, take charge, trust your skills, and let your car’s performance shine brighter than ever.
Your ride’s health is in your hands. Testing a fuel pressure regulator is easy when you follow these steps, ensuring your engine runs smoothly and efficiently.