How to Take the Top Off a Jeep Wrangler in 8 Easy Steps
Many Jeep Wrangler owners know the challenge of removing the top — it can feel overwhelming at first. If you’re new to this, you’re not alone; many people struggle with the process. But with a little guidance, you’ll find it’s easier than you think.
To take the top off your Jeep Wrangler in 8 easy steps, start by gathering your tools and clearing a flat, level space for safety. Remove the front driver’s side components, like fasteners and wiring, then detach the passenger and rear sections, supporting the hardtop carefully.
Disconnect any wiring or hoses, lift the top with help, and store it securely. For detailed guidance on each step, continue exploring the complete process to guarantee a smooth and safe removal.
Key Takeaways
- Prepare your workspace, gather your tools, and make sure you take safety precautions before you start.
- Remove the front, passenger, and rear panels. Be careful when disconnecting wiring and latches so nothing gets damaged.
- Support and lift the hardtop evenly. You might want some help or use lifting equipment to make it easier.
- Walk the top rearward gently to your storage area. Make sure all fasteners and clips are taken out first.
- Reconnect the wiring, secure all fasteners, and do a quick safety and weatherproofing check before you finish.
Gather the Right Tools and Equipment for Hard Top Removal
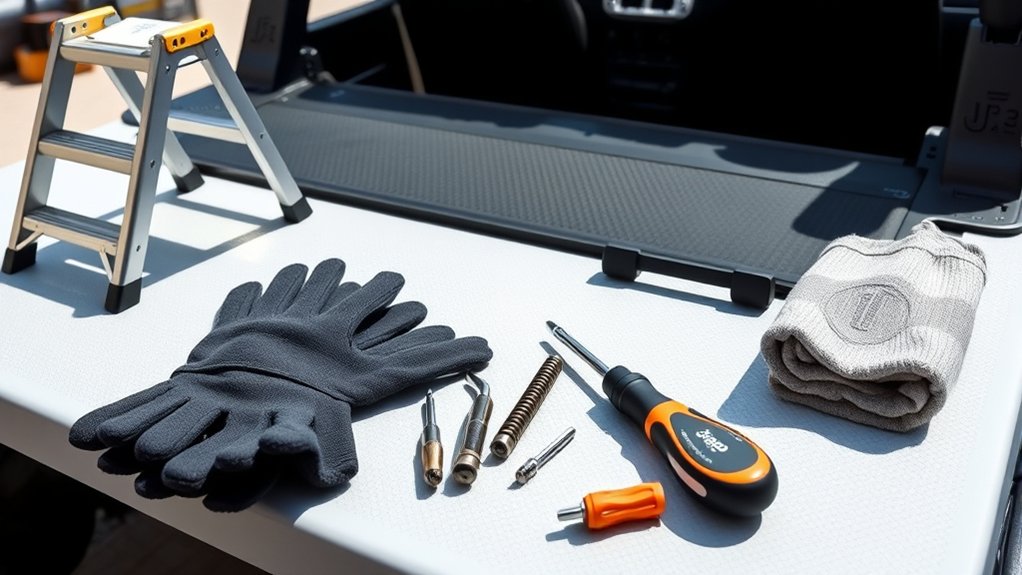
Before you start removing the hard top, it’s important to gather the right tools and equipment to make things easier and safer. You’ll need a T-40 Torx driver to take out the screws holding the hardtop in place.
Gather the right tools, like a T-40 Torx driver, for a safer, easier hardtop removal process.
Having a set of removal tools, like ratchets and sockets such as 15mm, T40, and T50 Torx, will help loosen fasteners quickly and efficiently. Keep in mind that you might need to disconnect the wiring harness, so have a wiring removal tool handy.
To handle the heavy hardtop safely, use a lifting aid like a hoist or pulley system. You can also ask someone for help to avoid injury. Be sure to store all fasteners, screws, and clips in a dedicated container so you don’t lose anything during the process.
Proper preparation makes the removal smoother and safer, so take the time to gather everything you need before you begin.
Clear Space and Conduct Safety Checks Before Starting
Start by clearing the area around your Jeep to make sure you have enough space on all sides to safely maneuver the hard top. Make sure there’s a clear space of a few feet on each side to avoid accidental bumps or damage during removal.
Do a safety check by inspecting overhead clearance to ensure the hard top can be lifted without hitting any obstacles above. Use flat, level ground to provide stability and reduce the risk of slipping or tipping when lifting the top.
Remove any loose items or debris around the vehicle to avoid tripping hazards and keep your workspace safe. Clearing obstacles creates enough maneuvering space, making the hardtop removal process smoother and safer.
Taking these precautions helps prevent accidents and damage, making the whole process easier and safer.
Remove Front Driver’s Side Components and Fasteners
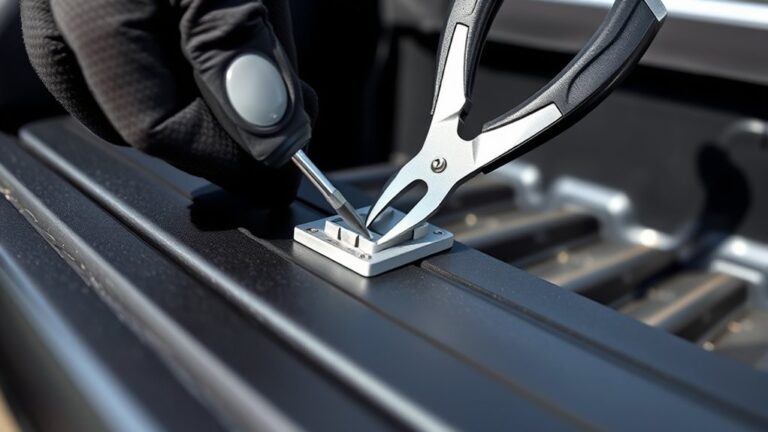
Start by unscrewing the fastener knob on the speaker bar assembly on the driver’s side and set it aside. Then, open the three L-shaped locks overhead to release the front panel.
Once these components are free, you can carefully move on to removing the overhead parts and header latch.
Accessing Fastener Knob
To access the fastener knob on the driver’s side speaker bar assembly, start by locating it carefully. The rear fastener knob holds the speaker bar in place, which you’ll need to remove to get top access.
Clear the area around the fastener so you can work easily. Use the right tools, like a Torx driver, and gently unscrew the fastener knob to avoid any damage.
Once it’s loose, put the fastener in a safe spot where it’s easy to find later. Next, remove the speaker bar piece on the driver’s side to get better access to the components underneath.
This step is important because it reveals the fasteners needed to remove the top part of your Jeep Wrangler. Handling these fasteners properly makes the removal process safer and smoother.
Removing Overhead Components
Before removing the overhead components, make sure the area is clear of any obstructions. Start by unscrewing the rear fastener knob on the driver’s side of the speaker bar assembly and set it aside safely.
Next, open the three L-shaped locks to release the overhead panel. Carefully unclip the sun visor to access the header latch. Lift the header latch above the windshield frame to detach the overhead panel.
Be mindful of the wiring harness connected to the overhead components; disconnect it if needed. Once the header latch is released, detach the overhead panel from the roof and store it securely to avoid damage.
Removing these overhead components, including the header latch and panel, is essential for proceeding with the top removal process.
Detach Passenger Side and Rear Sections of the Hard Top
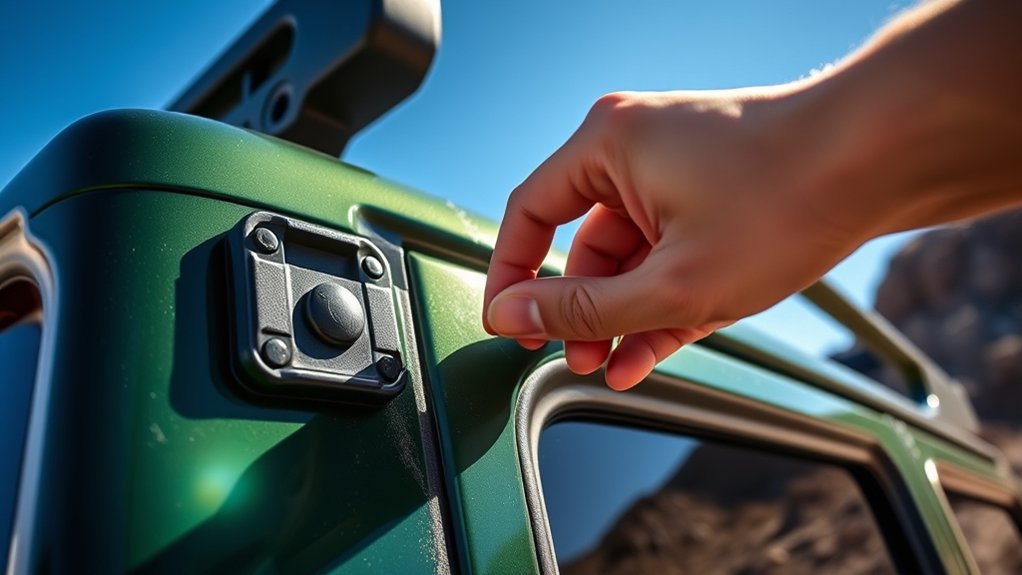
Begin by removing the fastener knob on the passenger side and setting it aside in a safe place. This step frees the passenger side section of the hardtop.
Next, fully open the passenger side L-shaped lock and unclip the sun visor to access the header latch. Lift the latch above the windshield to release the panel.
Carefully remove and store the passenger side Freedom Panel. Repeat this process on the rear section: unscrew the rear fastener knob, release the latch, and gently lift the rear section free.
Use the table below to guide your steps:
| Step | Action |
|---|---|
| 1 | Unscrew fastener knob and set aside |
| 2 | Release latch and unclip sun visor |
| 3 | Lift header latch above windshield |
| 4 | Remove passenger side Freedom Panel |
| 5 | Repeat on rear section |
This process guarantees a safe, efficient removal.
Disconnect Wiring, Hoses, and Prepare the Top for Lifting
As you prepare to lift the hard top off your Jeep Wrangler, it’s important to disconnect all wiring and hoses to avoid any damage. Locate the wiring harness inside the rear left corner of the hard top, slide the red tab to the right, and press the sides of the clip to disconnect it.
Carefully unplug the electrical connections to prevent damaging the wiring harness. Next, disconnect the rear windshield washer hose from the hard top, making sure not to damage the hose or connectors.
Check that all other wiring or hoses attached to the top are removed, and note their positions for reinstallation. Double-check that every electrical connection and fluid hose is fully unplugged before lifting the hard top to ensure a smooth and safe removal.
Lift and Remove the Hard Top Safely With Assistance or Equipment
Lifting and removing the hard top requires careful coordination and proper equipment to ensure safety and avoid damage. To do this effectively:
- Use at least two people or a hoist system to lift the hard top, making sure the weight is evenly distributed and stable.
- Check that all fasteners, wiring harnesses, and hoses are disconnected before lifting to prevent damage or injury.
- Carefully lift the hard top straight upward, avoiding side-to-side movement, and communicate clearly with your helper throughout the process.
Always support the top at all times and walk it rearward to a designated storage area. Proper assistance or equipment makes lifting the hard top safer, easier, and helps prevent costly damage.
Store the Hard Top Properly to Prevent Damage and Ease Reinstallation
Storing your hard top properly is key to keeping it in good shape and making reinstallation easier. Pick a cool, dry, and dust-free spot to prevent warping and damage.
Place the hard top on a padded surface or use a dedicated rack to avoid scratches and dents. When it’s not in use, cover it with a protective cover or tarp to shield it from UV rays and debris.
Keep all screws, fasteners, and wiring components in labeled containers so you can find them quickly when reassembling. Avoid stacking heavy objects on top, as this can cause structural deformation.
Good storage not only prevents damage but also makes putting the hard top back on your Jeep Wrangler a breeze. It saves you time and effort when you’re ready to reinstall.
Tips for a Fast and Safe Reinstallation of Your Jeep Wrangler Hard Top
When you’re ready to put the hard top back on your Jeep Wrangler, taking a systematic approach guarantees the process is both quick and safe. First, carefully align the hardtop onto the vehicle’s ledges, making sure it seats evenly on all sides.
Next, reattach the wiring harness and slide the red tab to lock the clip firmly in place, securing the electrical connections. Finally, double-check all fasteners, locks, and panels to ensure they are properly tightened and secure to prevent leaks and rattles.
To speed up reinstallation, remember these steps:
- Align the hardtop precisely for proper fit and safety.
- Reconnect wiring harnesses and lock clips securely.
- Fasten all fasteners and locks tightly for weatherproofing and stability.
Following this method will help you ensure a safe, secure, and efficient reinstallation.
Frequently Asked Questions
How Easy Is It to Take the Roof off a Jeep Wrangler?
Taking the roof off your Jeep Wrangler is pretty easy, especially with some help. It usually takes less than 30 minutes and only needs basic tools like a T-40 Torx driver.
With a helper, you can get it done quickly, but you can also remove it on your own with equipment like pulley systems. Just be careful when disconnecting wiring and lifting panels.
Most owners find it manageable with a bit of mechanical know-how, so don’t worry if you’re doing it solo.
What Year to Stay Away From a Jeep Wrangler?
You should steer clear of the 2007 Jeep Wrangler. It’s notorious for engine troubles and rust that can sneak up on you, causing costly repairs.
Plus, other problematic years like the 2012-2018 and 2019 models have electrical and transmission issues that might catch you off guard.
Trust me, avoiding these years keeps you from dealing with unexpected breakdowns and headaches, ensuring your Jeep experience stays smooth and fun.
What Is the Average Income of a Jeep Owner?
The average income of a Jeep owner is around $75,000 annually. Many Jeep enthusiasts tend to have higher median household incomes, often exceeding $80,000.
They usually are middle or upper-middle class professionals. If you own a Jeep, you’re likely to be well-educated and enjoy outdoor adventures.
Your income level often reflects a love for exploration and a lifestyle that values versatility and off-road fun.
How to Remove the Top on a 2008 Jeep Wrangler?
To remove the top on your 2008 Jeep Wrangler, start by unscrewing the rear fastener knobs on both sides with a T-40 Torx driver.
Next, open the L-shaped locks and unclip the sun visors to release the Freedom Panels.
Then, lift the header latches above the windshield, remove the panels carefully, and if needed, detach the six Torx screws securing the hard top at the rear and sides.
With help, lift the top upward and rearward, then store it safely.
Conclusion
Removing your Jeep Wrangler’s hard top might seem intimidating, but with patience and the right steps, you’ll have it off in no time. Remember, safety always comes first—measure twice, cut once.
Once you’ve done it once or twice, you’ll see it’s just like riding a bike. It gets easier with practice. Now, enjoy your open-air adventure knowing you’ve mastered the top removal like a pro!