How to Do a Fuel Gauge Test in 8 Easy Steps
Many car owners find themselves frustrated when their fuel gauge isn’t showing the correct level. You’re not alone—fuel gauge issues are common and can be tricky to diagnose.
Luckily, doing a simple fuel gauge test can save you time and money.
To test your fuel gauge in eight simple steps, start by turning on the ignition and observing the gauge. Use a multimeter to check power and ground connections, then inspect wiring and connectors for damage or corrosion.
You can verify gauge response with external resistors or test the sender outside the vehicle. Watch how the needle reacts to identify common issues.
If you want to learn more about diagnosing and fixing problems, keep exploring the steps ahead.
Key Takeaways
- Disconnect the sender wire, ground it, and see if the gauge pegs full. This quick test helps you check if the gauge itself is working properly.
- Use a multimeter to measure the resistance across the sender terminals. Watch for smooth changes as you move the float. This shows whether the sender is functioning correctly.
- Check the power (12V) and ground connections to the fuel gauge with a multimeter. Make sure the electrical supply is solid and the connections are clean.
- To test outside the vehicle, use external resistors like 10Ω, 47Ω, and 150Ω. Connect them to the sender wire and observe how the gauge responds. This helps you see if the gauge reacts appropriately to different signals.
- Finally, inspect all wiring, connectors, and grounds. Look for corrosion, damage, or loose connections. Ensuring everything is secure and clean is key for accurate readings.
Diagnose Your Fuel Gauge Problems Quickly
Diagnosing fuel gauge problems quickly starts with simple tests to confirm if the gauge and sender are working correctly. First, turn the ignition to the “ON” position and watch the fuel gauge.
If it moves to full or empty, the gauge is likely working. To test the sender unit, disconnect the sending wire from the fuel tank and ground it. If the gauge pegs to full, the gauge itself is functioning.
Use a multimeter to measure resistance across the sender unit terminals. Resistance should change smoothly as the float moves. Also, check the wiring for continuity and proper connections between the gauge, sender, and ground.
External resistors can be used to simulate fuel levels and verify if the gauge responds correctly outside the vehicle.
Gather Your Tools and Safety Gear Before Starting
Before you start, gather your essential tools like a multimeter, screwdrivers, and test wires to diagnose your fuel gauge accurately.
Make sure to wear safety gloves and glasses to protect yourself from fuel spills and electrical hazards.
Set up your workspace in a well-ventilated area and disconnect the negative battery terminal to prevent electrical shorts.
Essential Tools Needed
To guarantee a safe and accurate fuel gauge test, you’ll need to gather the right tools and safety gear beforehand. First, a multimeter is essential for checking electrical connections and readings.
Second, have screwdrivers and needle-nose pliers ready to access and test components safely. Third, make sure you have the vehicle’s wiring diagram to correctly identify the gauge, sender, and ground connections.
Wearing protective gloves and safety glasses is vital to prevent injury from fuel spills or debris during testing. Moreover, disconnecting the negative battery terminal helps prevent electrical shorts.
Using an electrical contact cleaner to clean terminals and connectors will ensure accurate readings. With these tools, you’re prepared to perform a precise and safe fuel gauge test.
Safety Precautions First
Safety comes first before you start testing your fuel gauge. First, disconnect the negative terminal of the battery to prevent electrical shocks or shorts. Wear safety glasses and gloves to protect against fuel fumes, spills, and sparks.
Use insulated tools to avoid accidental grounding or short circuits. Work in a well-ventilated area to disperse fumes and reduce fire risk. Keep your workspace free of open flames, sparks, or heat sources.
Remember to check your ground wire connections carefully, as a poor connection can affect your gauge test. Always verify safety measures before proceeding. Here’s a quick safety checklist:
| Safety Step | Why It’s Important | Equipment Needed |
|---|---|---|
| Disconnect battery negative | Prevent shocks and shorts | Screwdriver, gloves |
| Wear safety gear | Protect against spills and sparks | Safety glasses, gloves |
| Use insulated tools | Avoid accidental grounding | Insulated screwdrivers |
| Work in ventilated area | Reduce fumes and fire hazards | Open space |
Proper Workspace Setup
Have you gathered all the necessary tools and safety gear before starting your fuel gauge test? Setting up a proper workspace is key for safety and efficiency.
First, make sure your workspace is well-ventilated to prevent fuel fumes from building up and reducing fire risk. Next, gather essential tools like a multimeter, screwdrivers, and jumper wires—having everything ready keeps the testing process smooth.
Finally, wear safety gear such as gloves and safety glasses to protect against fuel spills and electrical hazards. Also, disconnect the vehicle’s negative battery terminal and clear the area of open flames or heat sources.
A well-prepared workspace minimizes risks and helps you confidently perform the fuel gauge test without interruptions.
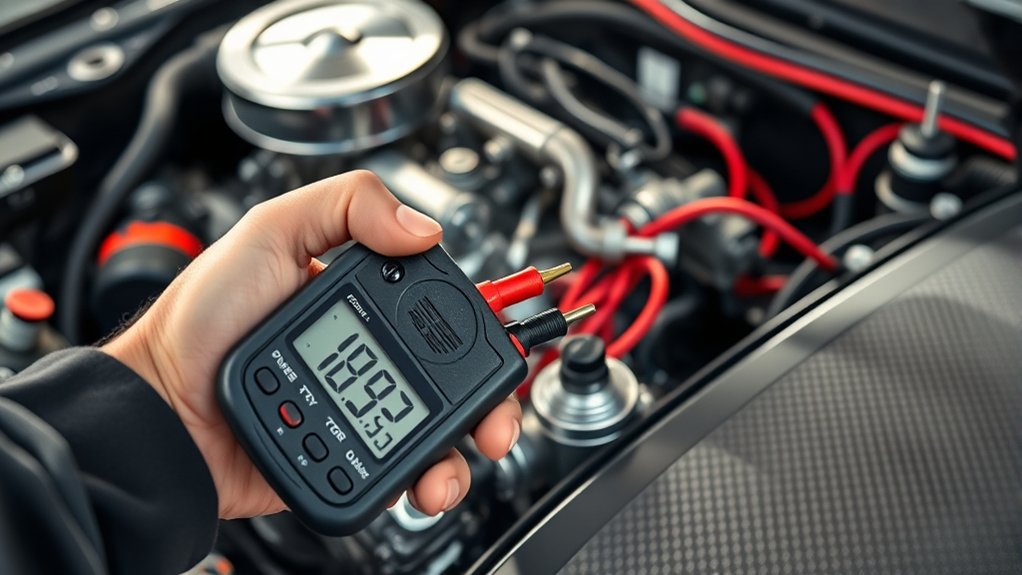
Verify Power and Ground Connections to the Fuel Gauge
Before testing the fuel gauge, it’s really important to check that the power and ground connections are solid.
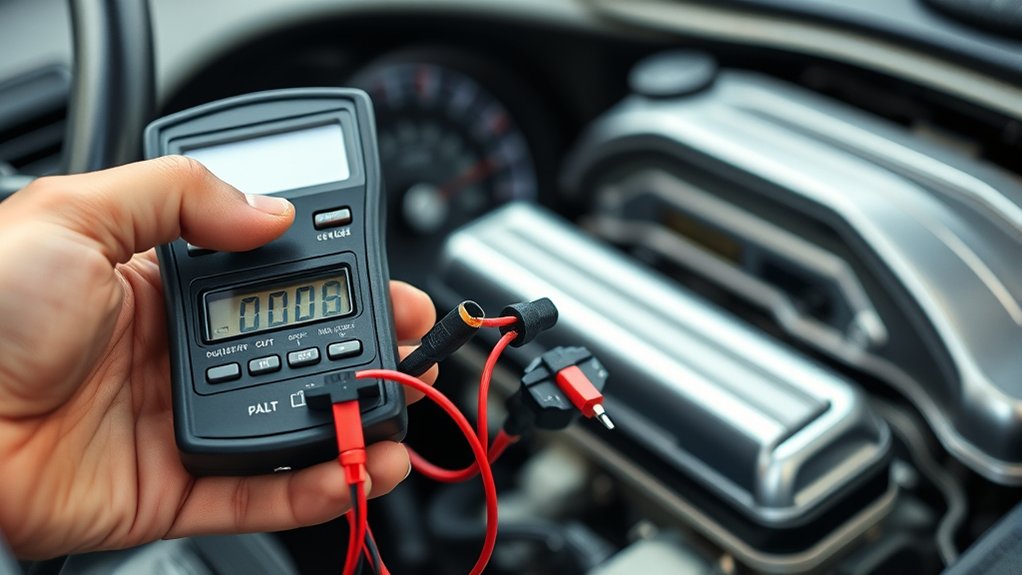
Use a multimeter to verify there’s 12V DC at the fuel gauge’s power terminal with the ignition turned on. Make sure the ground wire is securely attached to a clean, unpainted metal surface for a good electrical ground.
Also, confirm there’s minimal resistance between the gauge’s ground terminal and the vehicle’s chassis or negative battery terminal. Good connections are key for getting accurate readings.
Here’s a quick overview:
| Connection | Check | Requirements |
|---|---|---|
| Power | Voltage | 12V DC when ignition is on |
| Ground | Continuity | Low resistance to chassis or battery |
| Wiring | Damage/Corrosion | No damage or corrosion |
This ensures your fuel gauge has reliable power and ground connections.
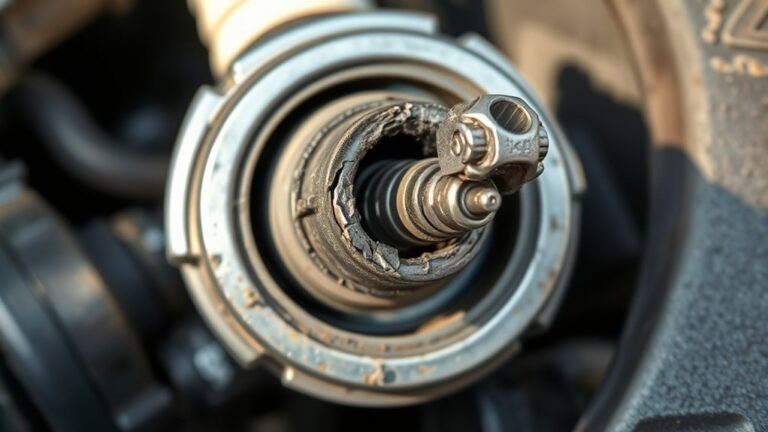
Inspect Wiring and Connectors for Damage or Corrosion
Inspecting the wiring and connectors between the fuel sending unit and the gauge is essential for accurate readings. First, examine all wiring for signs of corrosion, fraying, or damage that could disrupt the circuit.
Next, check the connectors for loose, bent, or damaged pins that may cause poor contact. Finally, look for corrosion or dirt on terminals, and clean them with electrical contact cleaner to improve conductivity.
Verify that grounding points are secure and free of rust or paint, as poor grounding can lead to inaccurate readings.
By carefully inspecting these components, you ensure a reliable connection and accurate fuel gauge performance.
Taking these steps helps eliminate common issues caused by damaged wiring or corroded connectors.
Test the Fuel Gauge Response Using External Resistors
To test the fuel gauge’s response, you can use external resistors to simulate different fuel levels. Connect known resistors—such as 10Ω, 47Ω, and 150Ω—to the fuel gauge’s sending terminal.
Use external resistors like 10Ω, 47Ω, and 150Ω to test your fuel gauge’s accuracy by simulating various fuel levels.
Ground the resistor to the vehicle’s chassis or a solid ground point to mimic a full tank, causing the needle to peg full. Use higher resistance resistors, like 150Ω, to simulate near-empty conditions and observe if the needle moves to empty.
Verify the gauge responds accurately by noting the needle’s position at each resistance value. Adjust or replace resistors as needed until the gauge displays correct readings for each simulated level outside the tank.
This process helps confirm whether the fuel gauge reacts properly to changes in the sending unit’s signal.
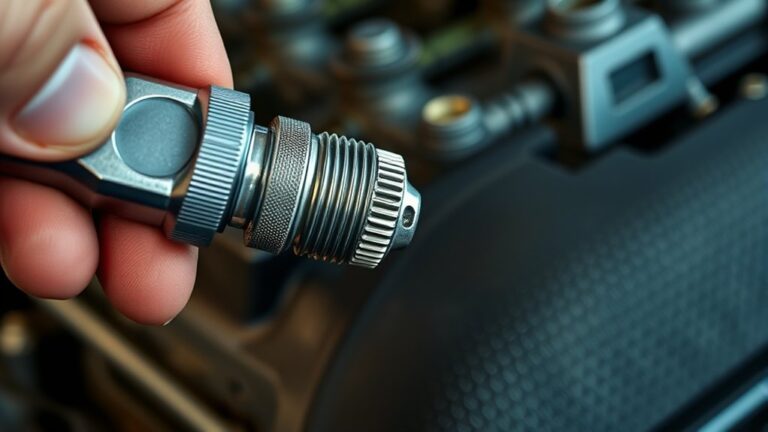
Check the Sending Unit Outside the Vehicle
Checking the sending unit outside the vehicle involves removing it from the tank and testing its resistance response directly. First, carefully take out the fuel sending unit and cover the opening to prevent fumes from escaping.
Next, follow these steps:
- Connect the sender’s wiring to a multimeter set to measure resistance.
- Use a 12V battery or external power source to supply power to the sender’s terminals.
- Manually move the float arm from empty to full positions and watch the resistance change on the multimeter.
A properly functioning fuel sending unit will show resistance smoothly shifting between roughly 10 ohms (full) and 240 ohms (empty). This test confirms whether your fuel sending unit responds accurately to float movement.
Identify Common Faults Based on Needle Behavior
Your fuel gauge needle’s behavior can reveal a lot about potential faults. A stuck or erratic needle often points to wiring issues or a faulty sender.
Pegging full or empty suggests a wiring short or bad sensor. No movement or flickering could mean blown fuses, broken wiring, or a faulty gauge that needs attention.
Stuck or Erratic Needle
Ever notice your fuel gauge needle sticking or moving unpredictably? This often points to issues with the sender, wiring, or the gauge itself. Here’s what to check:
- Erratic movement could be caused by loose or corroded wiring connections at the gauge or sender terminals.
- Jumping needle may indicate a failing gauge or a stuck or damaged float arm.
- Stuck or pegged needle often signals a faulty ground connection, broken resistor in the sending unit, or wiring problems.
You can test this by inspecting the wiring and grounding connections or using external resistors to see if the needle responds consistently. This helps identify whether the problem is with the fuel gauge, sender, or wiring.
Pegging Full or Empty
When your fuel gauge keeps pegging full or empty, it usually points to wiring issues or problems with the sender unit. Pegging full often means there’s a short circuit or grounding problem on the sender wire, making the gauge read maximum.
Pegging empty typically indicates a broken ground connection or a faulty resistor in the sending unit. If the needle hits full when the sender wire is grounded, the gauge’s internal circuit might be damaged or malfunctioning.
A stuck empty reading can happen if there’s high resistance in the sender’s rheostat or if the float arm has failed. Persistently pegging to full or empty suggests a wiring fault, damaged sender, or gauge malfunction that needs further diagnosis and repair to get accurate fuel readings.
No Movement or Flickering
A fuel gauge that shows no movement often indicates a wiring problem, a faulty sender, or a damaged gauge itself. To diagnose, consider these possibilities:
- Check the wiring connections for corrosion, looseness, or disconnection. Faulty wiring can prevent signals from reaching the gauge.
- Test the sending unit by grounding its wire. If the needle pegs full, the gauge and wiring are fine, and the sender may be defective.
- If the needle remains stuck at full or empty, inspect for a grounded tan wire or a disconnected sender wire. Both are common causes of pegged readings.
Troubleshoot Persistent Issues and Know When to Replace Components
Persistent problems with your fuel gauge usually mean that the parts responsible for accurate readings are failing. If your gauge stays stuck or gives erratic readings even after checking the wiring, the issue might be with the fuel sender or the gauge itself.
When testing shows no response after verifying wiring and power, it suggests these parts are faulty. Resistance measurements of the fuel sender should change as the float moves; if they don’t, the sender is broken and needs to be replaced.
Continuous inaccurate readings, even after grounding and wiring checks, point to a worn-out or damaged gauge. In such cases, replacing both the fuel sender and gauge is usually the best way to get reliable fuel level readings and prevent future issues.
Frequently Asked Questions
How Do You Test a Fuel Gauge?
To test a fuel gauge, start by disconnecting the sending wire and grounding it. Watch the needle move to full or empty to see if it responds correctly.
Use a multimeter to check the sending unit’s resistance. It should smoothly change from about 10 to 240 ohms as the fuel level varies.
Also, turn on the ignition and verify there’s 12V at the gauge’s power terminal. This ensures the gauge is getting power.
Finally, test wiring continuity and ground connections to make sure everything is functioning properly.
How to Read Fuel Gauge in Eighths?
To read your fuel gauge in eighths, look at the needle’s position relative to the markings. Each mark equals 12.5%, so if it’s on “1/8,” you’ve got about 12.5% fuel left.
On “4/8,” it’s roughly half, and on “7/8,” you’re near full. Use the color zones or labels if available to quickly estimate your fuel level.
Then, confirm by checking the actual tank if needed.
How to Perform a Fuel Test?
Think of testing your fuel gauge like tuning a musical instrument—you want everything to be perfectly in sync.
First, turn the ignition to ON and watch the needle. Disconnect the sending wire and ground it; if it jumps to full, that’s a good sign.
Use a multimeter to check resistance, and test the gauge outside the vehicle with a known resistor.
Confirm wiring and power are solid, and you’ll have a clear picture of your fuel system’s health.
Can I Drive 2 Miles on Empty?
You can technically drive 2 miles on empty, but it’s not recommended. Running your tank that low risks overheating your fuel pump since there’s no fuel to keep it cool.
Plus, it increases the chance of debris clogging your fuel filter and causing damage. To avoid these issues and potential breakdowns, always try to refuel before hitting empty, especially on short trips.
Conclusion
Once you’ve gone through these steps, you’ll have a better idea of your fuel gauge’s health. Think of it as giving your vehicle a quick check-up—sometimes it just needs a little care and attention.
With patience and a keen eye, you’ll spot small issues before they turn into bigger problems. Remember, a well-maintained fuel gauge means fewer surprises on the road.
Keeping your fuel gauge in good shape helps ensure smoother, worry-free drives. Regular testing can save you time and hassle later on.